Trusted by:
How to Write Email for Sending Certificates?
When you write an email for sending certificates, the message needs to be clear and simple. Keep on scrolling to see how to properly format your email, what to include, and how to use Certifier to use certificate links (bye-bye attachment issues!).
AuthorOla Kozielska
Updated: May 07, 2024
18 min read
Author
Ola Kozielska
Updated: May 07, 2024
18 min read
Trusted by:
Here comes the exciting moment! You can finally send certificates to the recipients. Everything is ready. The course/webinar/etc. is over, and you already have the certifications waiting to be sent to the recipients.
There’s the last step ahead of you – you want to drop attendees a few lines with congratulations and certification. So, you open your email inbox, and then… the unstoppable chaos begins.
The easiest way to send certificates via email
How to write email for sending certificates? What to start with? Name? Congratulations? A brief description or summary of the course?
Or maybe you have already started, but you keep deleting your draft because nothing sounds good enough to you. Or you’re fed up with the email tool you previously chose.
Is it your case? No worries — we’re here to help you out. Use Certifier, so you can craft, send automatically, and even monitor not only your certificates, but also emails.
Let us show you the process and our PRO tips on how to create a perfect email for sending certificates.
Best practices for writing effective certificate emails
Before you get your hands on writing, get familiar with our tips and tricks. They may streamline your work and clear out your doubts.
#1 Create an attention-grabbing subject line
Keep it simple, direct, and motivating for recipients to open the email. A clear subject line makes your email stand out in a busy inbox, sparking curiosity and encouraging recipients to open it right away.
A subject line catches the eye and sets the tone for the professionalism and relevance of the document details inside — in our case, the certifications.
If you’re preparing certificates via Certifier, you can make your subject lines more personal with dynamic attributes (no spammy titles!).
Examples of subject lines:
Hi [recipient.name], Your Certificate of Achievement Awaits!
Exciting News: Your Certificate Is Now Available! 🚀
Congratulations, Your Certification for [course.name] is Ready!
Important: [certificate.name] Inside
Ready to Download: Access Your Certificate Today!
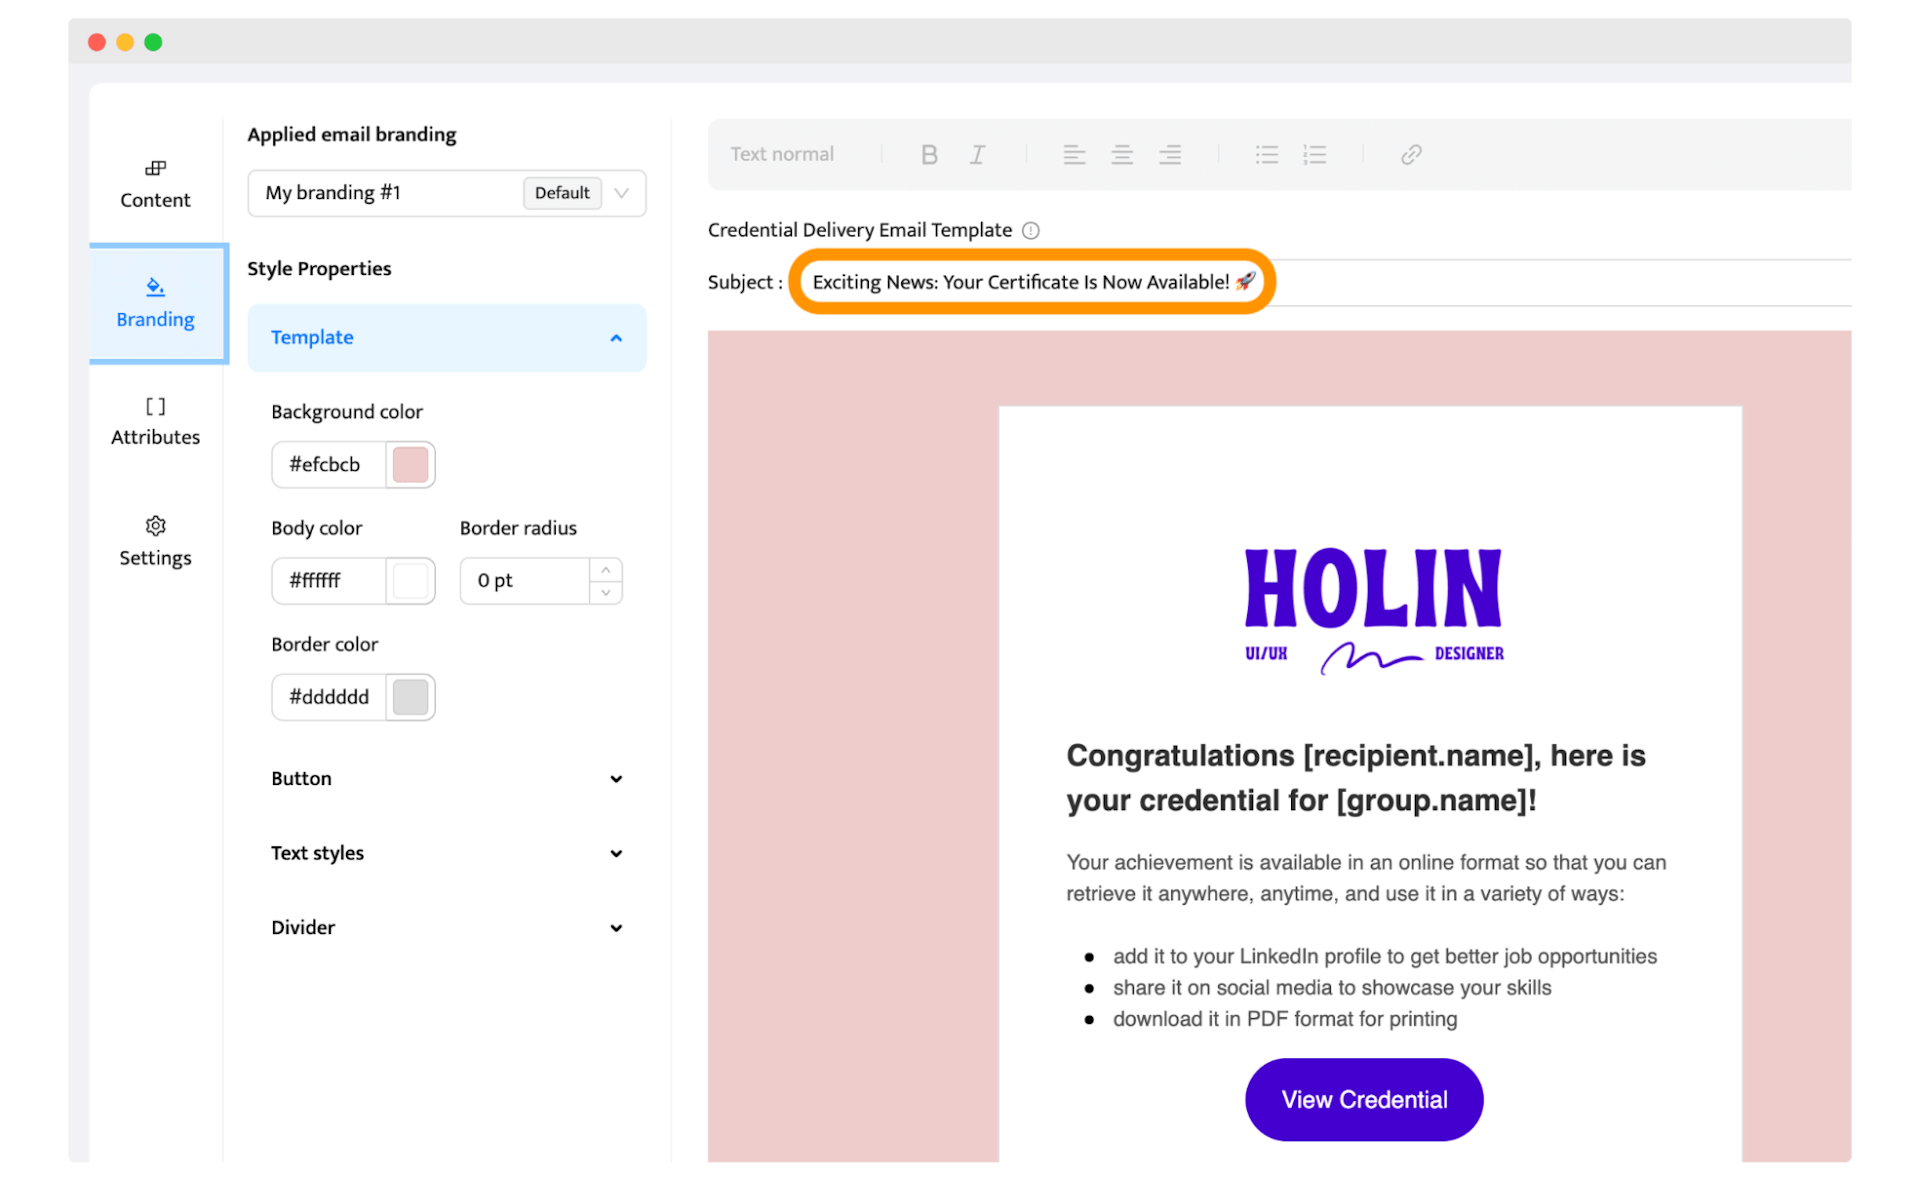
🤫 Pst! The dashboard you see right here is the Certifier email template builder that allows you to customize the emails for sending certificates. It’s super easy to use, and helps you achieve the professional look of your certificate emails!
So if you’re looking for specific templates (like an email template for sending certificate of completion to manager for completing the management course), at Certifier you can easily create your own. Scroll down.
#2 Avoid using ‘spammy’ words
Make sure your email about digital documents gets seen, not sidelined into the spam folder! Avoid 'spammy' words in the body, subject line, and any other parts that might trigger junk filters.
Always double-check your text for clarity and simplicity. Be careful with those, so your message reaches the inbox, and it’s not treated as spam.
Examples of ‘spammy’ words:
Real thing
Promise you …!
No purchase necessary
Hidden assets
Guarantee
#3 Keep the body clear and concise
Start with a brief introduction that captures attention when sending certificates. Express your message in a professional manner, and keep the email body concise and to the point.
It lets you communicate effectively and respect the recipient's time. It’s more probable that the recipient will open the email and access the certificate as they get the email – one glance and they know what the email is about.
#4 Specify actionable steps for recipients
The email’s main goal is to encourage recipients to download/access their certifications. Inform them how they can do this. It doesn’t need to be long, just a few words on where to click.
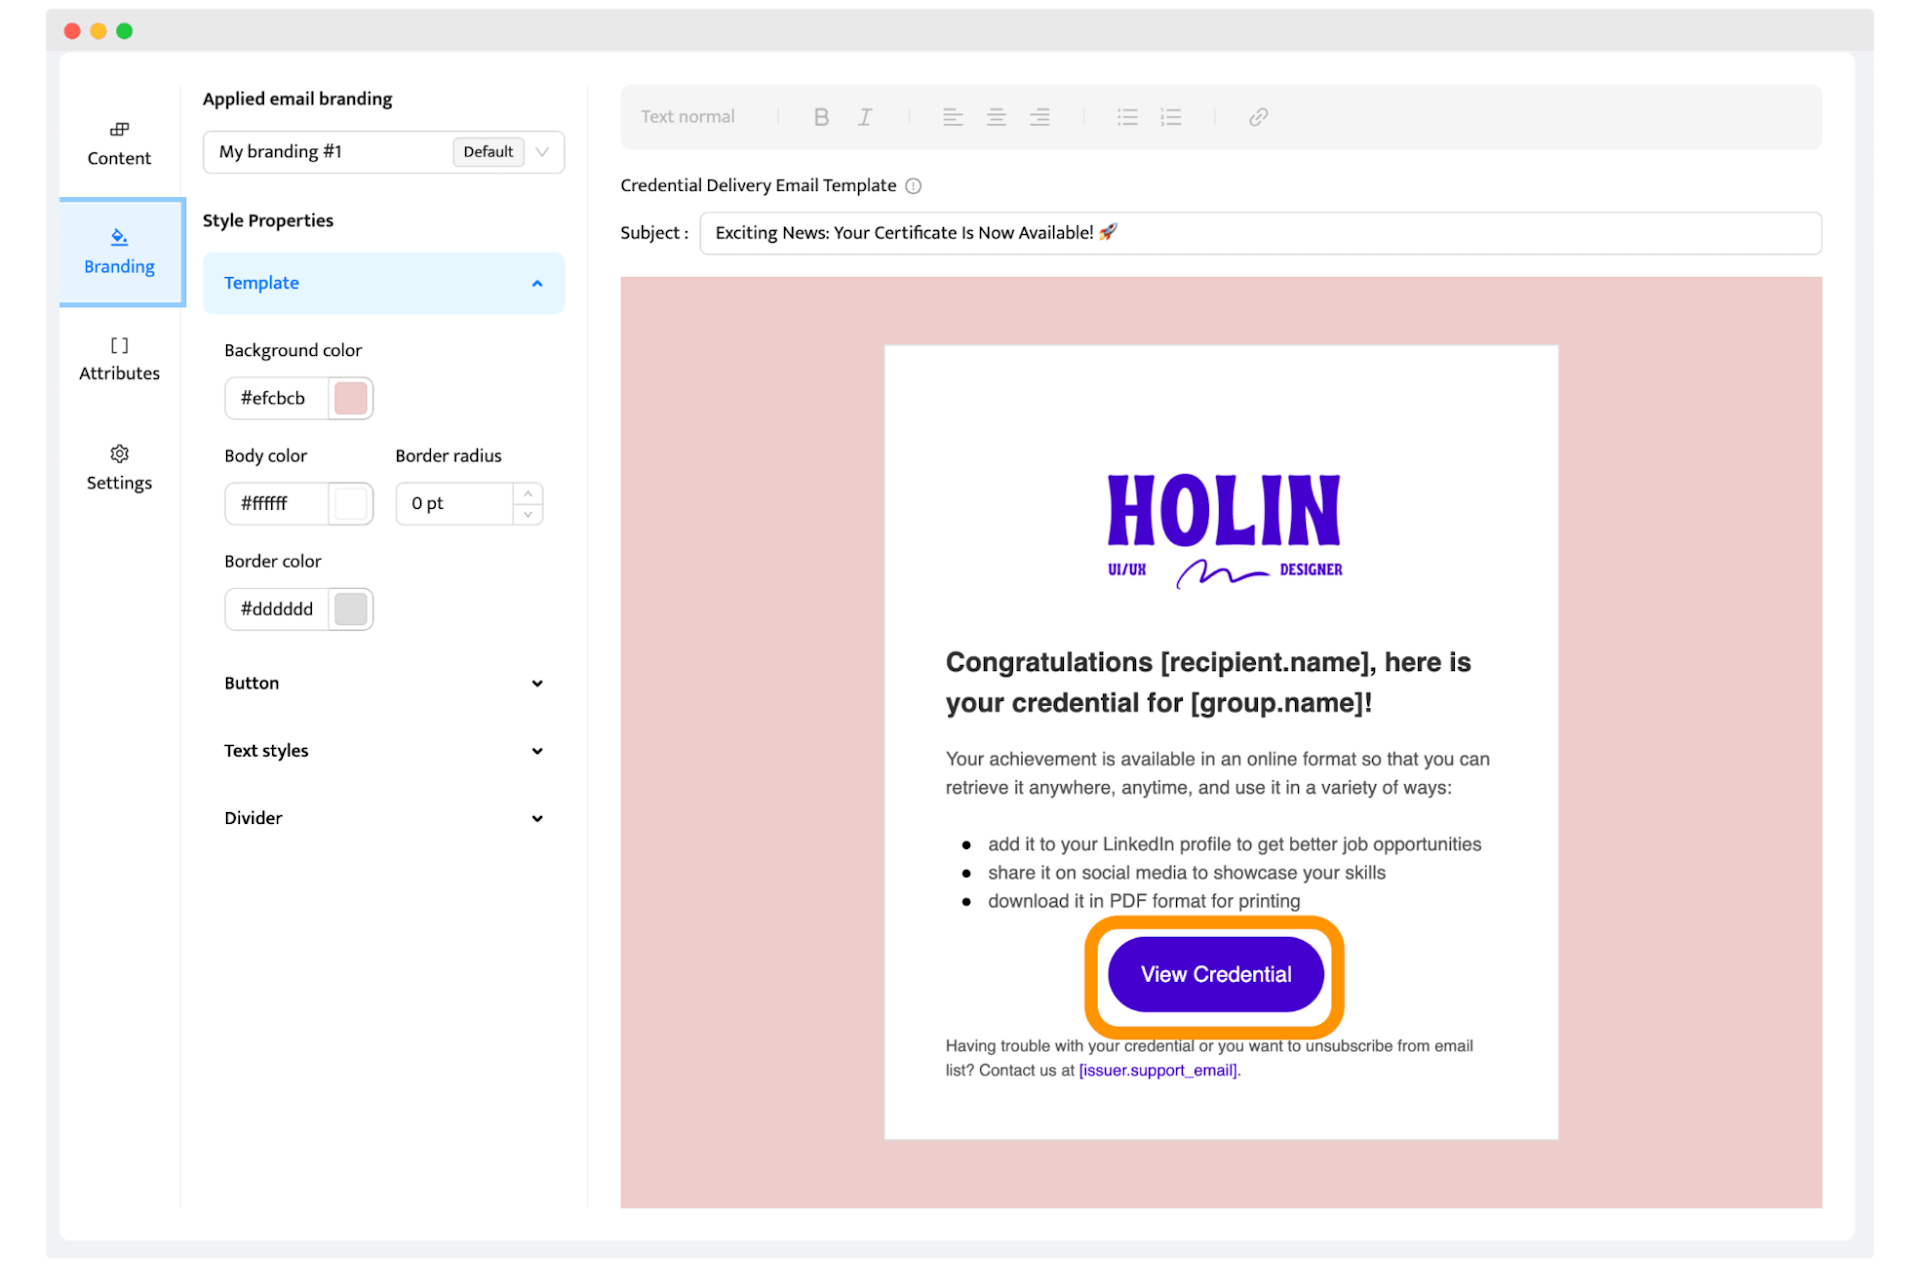
💡 Tip: At Certifier, you can make it easy for recipients to share their certificates on social media like LinkedIn, right from the recipient’s wallet. Each Certifier email has the CTA button at the center stage to boost engagement with your credential!
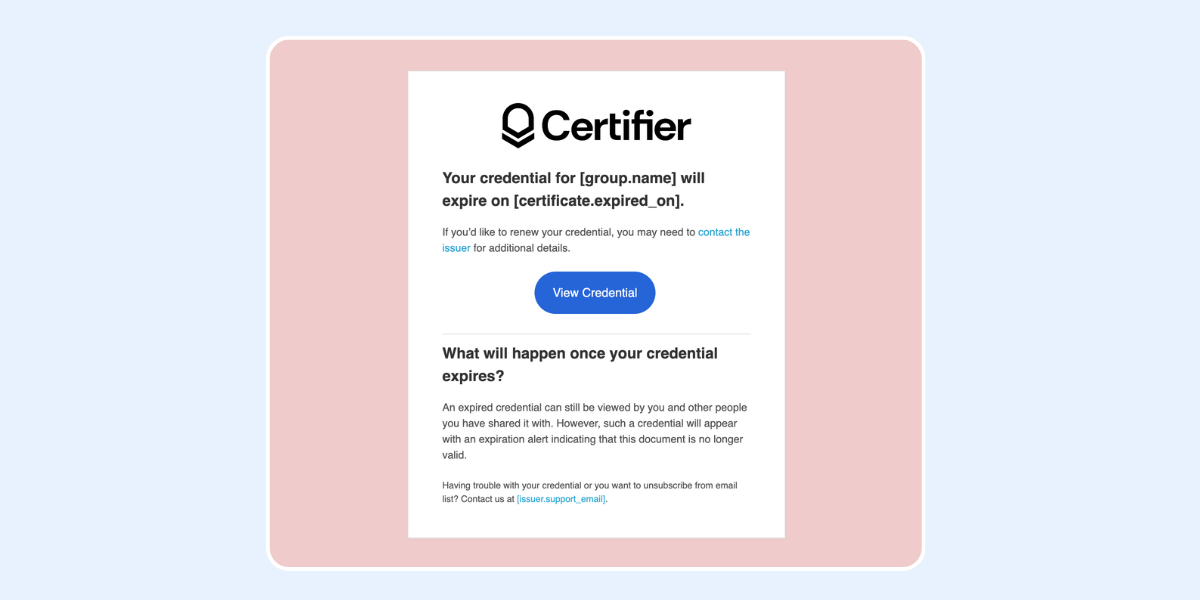
Also, include info if their badges/certificates expire after some time and what to do to make them valid — invite them to retake the course, for instance. You don’t have to include all the info there. You can mention more details in the follow-up.
#5 Mention the expiration date
Speaking of which, clearly state the expiration date if the certificate you issue loses its validity after some time. Briefly explain the significance of this date in your message so recipients understand the timeline.
Include any further information necessary to clarify how they can renew or verify the certificate before it expires. It prevents confusion and encourages timely action.
#6 Ensure 24/7 access with Certifier
After sending certificates, they should be available whenever your recipients need them. They can download them, take a quick look, or share them with others – no matter when and where.
It’s all possible with Certifier's secure SSL-protected digital wallet from which your recipients can manage certification as they need and be sure the documents with all important details are always at their fingertips.
#7 Choose the right file format
If you opt for adding certificates as attachments (not the most secure option!), a PDF certificate is definitely your go-to format since it is more professional-looking than JPEG or PNG.
However, we always recommend using digital certificates (e.g., a certificate link with a unique credential ID and a one-click verification feature). It’s the best mix of accessibility and security for official and sensitive documents like credentials.
With such a certificate link, the recipient can do many things – they can add the certificate to LinkedIn, download it as a PDF, or verify its validity.
💡 Tip: If you’re not going to go with Certifier to prepare and send your certificate, we still recommend uploading all your certificates to a cloud (e.g., Google Drive), generating a link, and sharing it with the recipients instead of sending an attachment.
Why you should stick to digital certificates? Emails without attachments are lighter, have a higher deliverability rate, and are more secure than standard emails.
#8 Decide on the attachment size
As for the attachments – again, we DO NOT recommend using them as the method of delivering certificates (so if you’re wrtiting certificates with Certifier, you can skip this point).
But, if you’re still adding certificates as documents attached to the email, consider the file’s size and weight. For example, the maximum attachment in Gmail is 25 MB per email.
Certificates can be heavy, especially if they are big and have many high-quality elements. So, consider creating a certificate link – upload all your certificates on a secure hosting/server and generate personalized links that you can easily send to your recipients.
As you can see, there are many things to consider if you don’t prepare certificates via the certificate generator. Certifier handles all of that and even more, so you don’t have to even think about it! Give your recipients the option to download the credential in the format they prefer.
Create beautiful, high-quality certifications without thinking about technical aspects. Use a certificate template (there are plenty of them), customize them, prepare the email, and send them out. All to make your work smart, not hard.
#9 Send follow-up emails
Schedule a follow-up email to go out two weekends before the expiration date of the certificates you're sending. Such reminders help recipients keep their digital documents up-to-date.
Make the message clear and direct, and emphasize the importance of action before the deadline. This will keep everyone on track and avoid any last-minute rush, making the process smooth for both you and the recipients.
💡 Tip: Certifier lets you create a template for follow-up messages as well! You craft the email content, set the time, and you don’t have to think about it anymore.
#10 Automate certificate email delivery with Certifier
Set up automatic email delivery for all your recipients. Do it with Certifier – smooth and timely document submission guaranteed.
The tool sends requested documents and helps you avoid manual errors. Automating this step makes it easier and more reliable for everyone involved — you don’t have to spend hours on it, and recipients get error-free certificates.
📚 Read more on how to send certificates via email with Certifier (semi-manual and manual options included!).
#11 Include customer support contact details in case of any troubles with the documents attached
Always include a contact email for customer support when sending documents. If your recipients have any issues with the attached documents or need further clarification, they can easily reach out.
And here are some more reasons why you should NOT use attachments in emails with certificates (and use certificate links instead).
How to enhance engagement with certificate email?
It seems like this kind of email is just for sharing the documents, but you can make them engaging as well.
Set automatic delivery for three key emails
Set it at three crucial times: immediately after generating the certificate, two weeks before its expiration, and right upon its expiration. Recipients receive timely updates and reminders about their important documents.
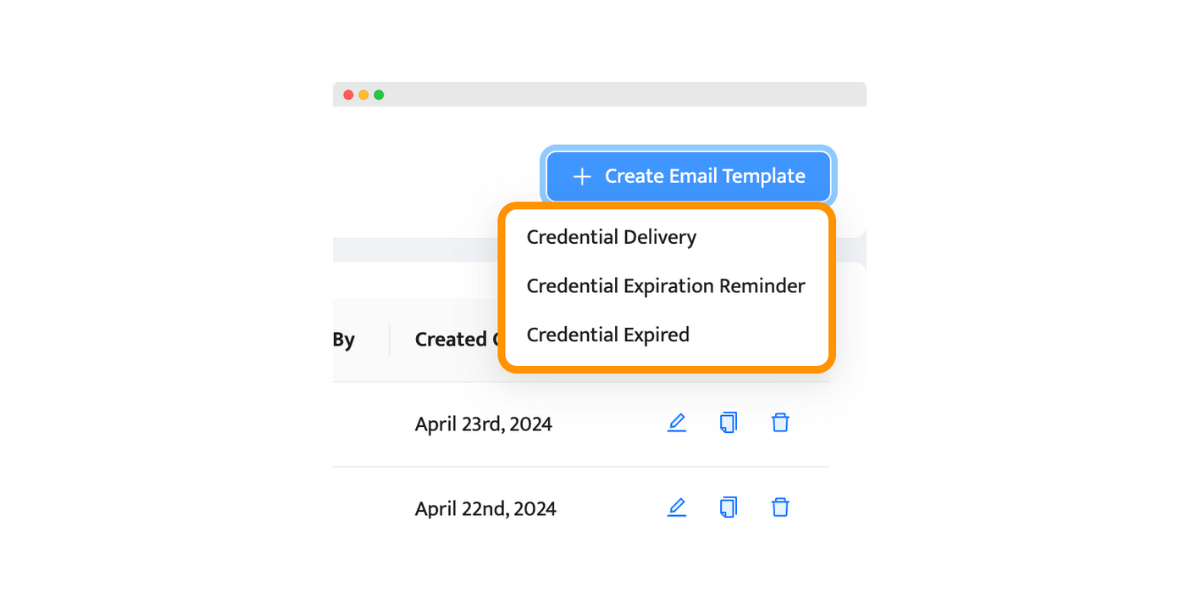
When you automate certificate distribution, you keep everyone informed and engaged without the need for manual follow-up. You don’t only save hours on manual writing but also enhance the recipient's experience through well-informed communication.
Make it easy to share certificates via email
As you include attached files in the emails you send, why not make documents ready to be shared with just a few clicks? To make it happen, you need a tool that enables it, like Certifier.
You set the rules – it can be shared exclusively on LinkedIn or other platforms as well.
3 samples of how to write emails with certificates
No idea how to start? Use our templates with wording examples. You can change them as you like.
Email template #1: Course completion
After many hours of participating in a course, all your attendees will look forward to an email with this information. Make it memorable with Certifier’s email creator.
You don’t have to create it from scratch. There is an email template for sending certificate of completion waiting for your changes.
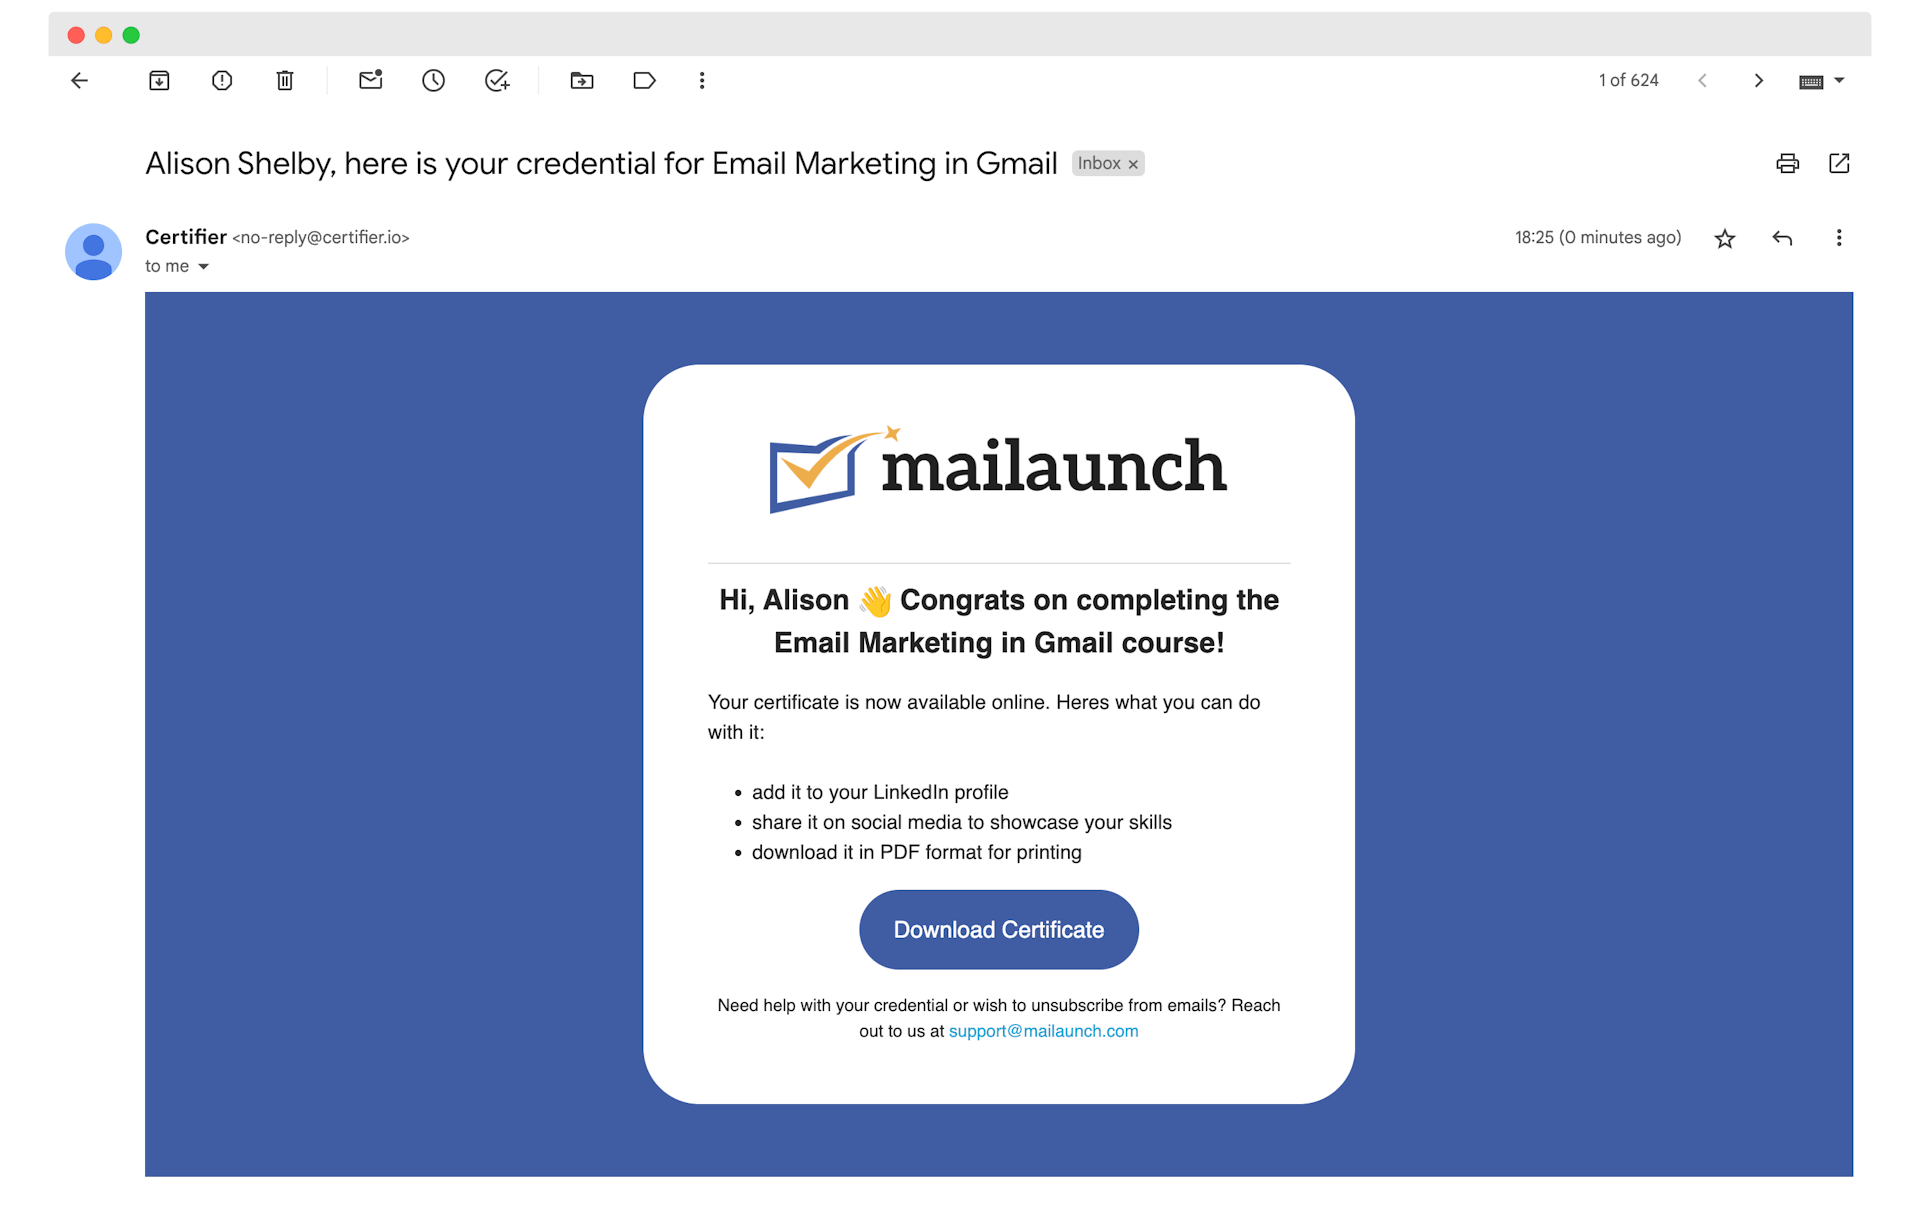
Subject line: Congratulations, [recipient.name]! Your Course Certificate is Ready
Body: Hi, [recipient.name] 👋 Congrats on completing the [course.name]” course.
Your certificate is now available online. Here’s what you can do with it:
Add it to your LinkedIn profile to boost your job prospects
Share it on social media to display your skills
Download a PDF for printing
CTA: Download Certificate
Contact details: Need help with your credential or wish to unsubscribe from emails? Reach out to us at [email address].
💡 Tip: Set custom dynamic attributes to create more personalized emails. For example, you can include recipients’ names in both the body and subject line of the text. It may increase open and click rates.
The attributes also work for credentials, so you can easily send certificates with different names at once with our bulk generator.
Email template #2: Webinar
It’s like the cherry on top — a visually appealing message with a certificate. It shows that you care about the details at every touchpoint.
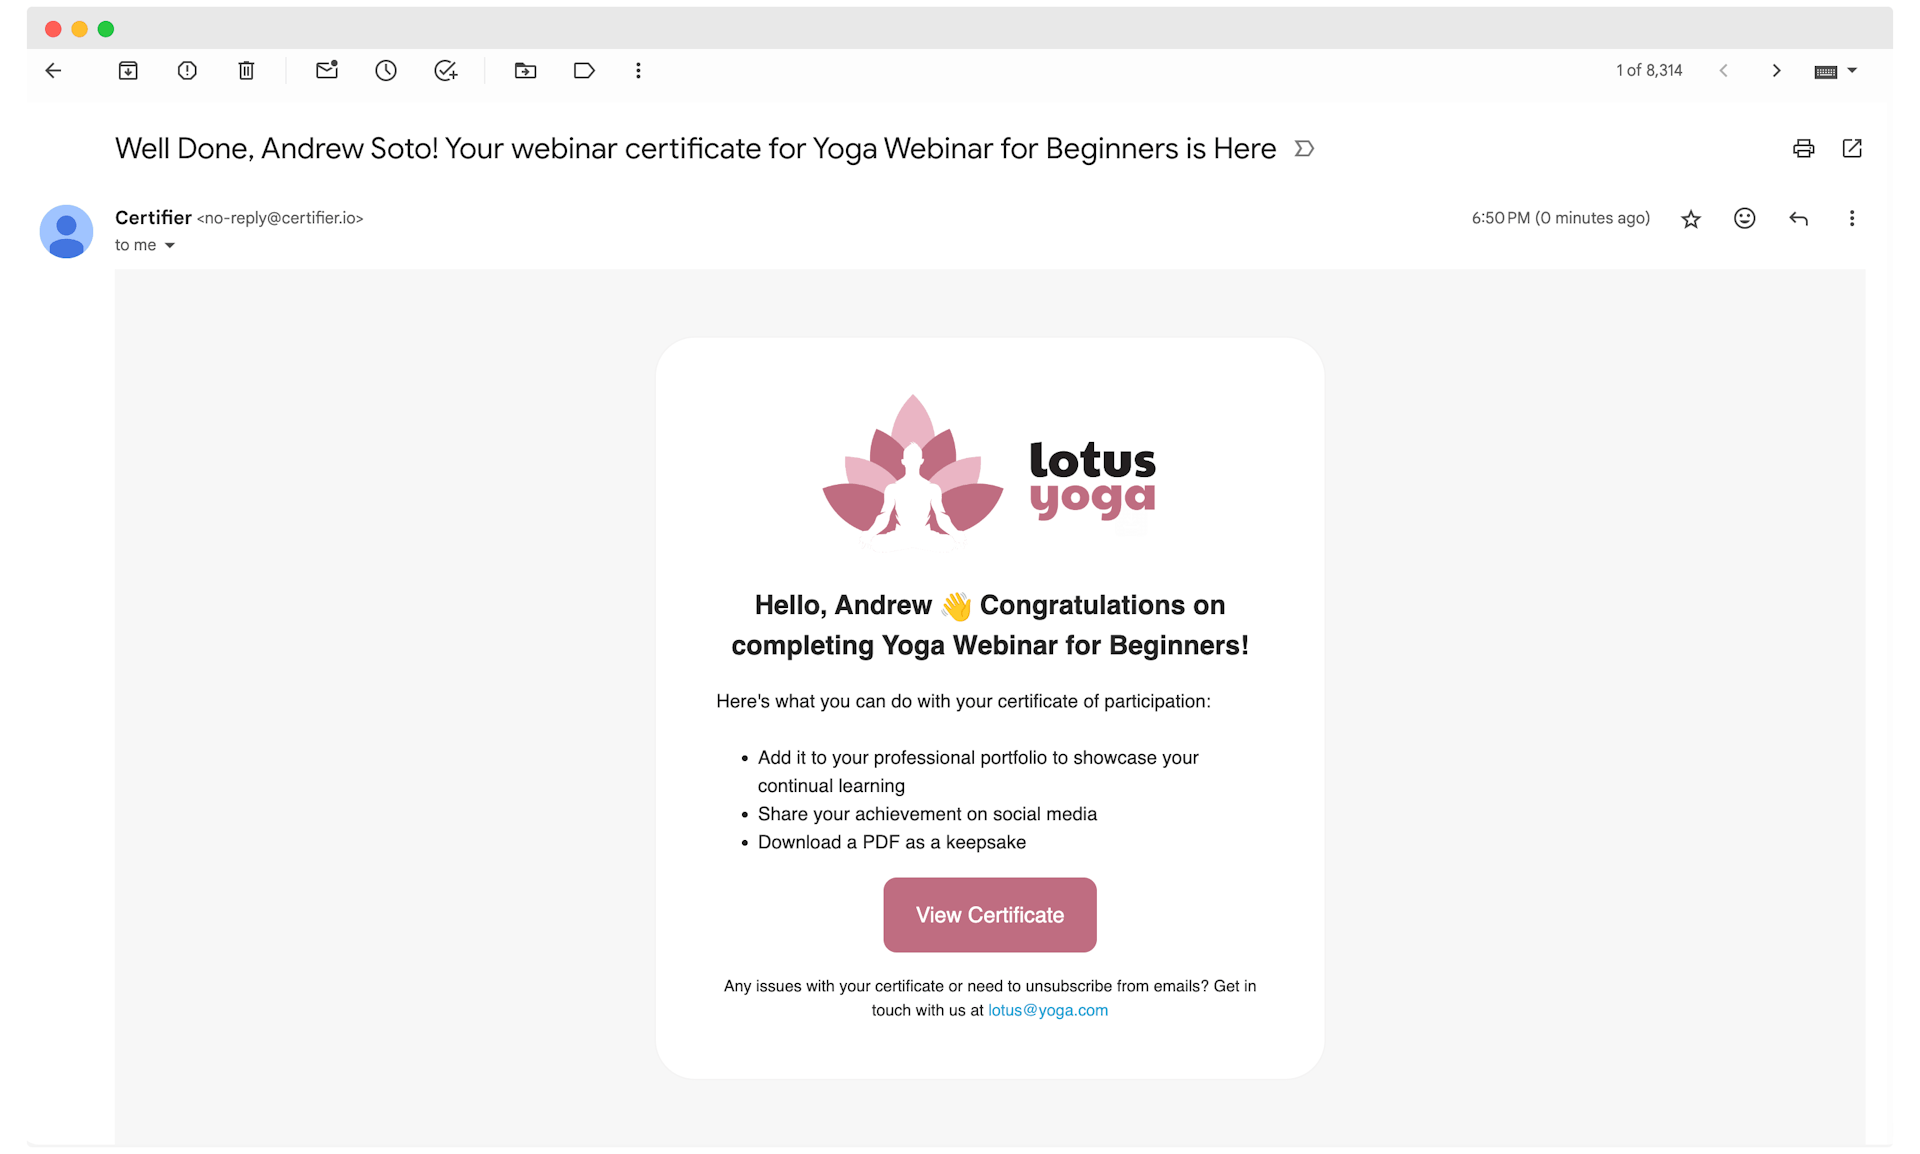
Subject line: Well Done, [recipient.name]! Your Webinar Participation Certificate is Here
Body:
Hello, [recipient.name] 👋 Congratulations on completing the “[course.name]” webinar!
Here's what you can do with your certificate of participation:
Add it to your professional portfolio to showcase your continual learning
Share your achievement on social media
Download a PDF as a keepsake
CTA: View Certificate
Contact details: Any issues with your certificate or need to unsubscribe from emails? Get in touch with us at [email address].
💡 Tip: Use the preview for sending certificate email sample. You can double-check if the message you created looks as it is supposed to.
Email template #3: Diploma
Make this rewarding moment extra special with a tailored congratulations email.
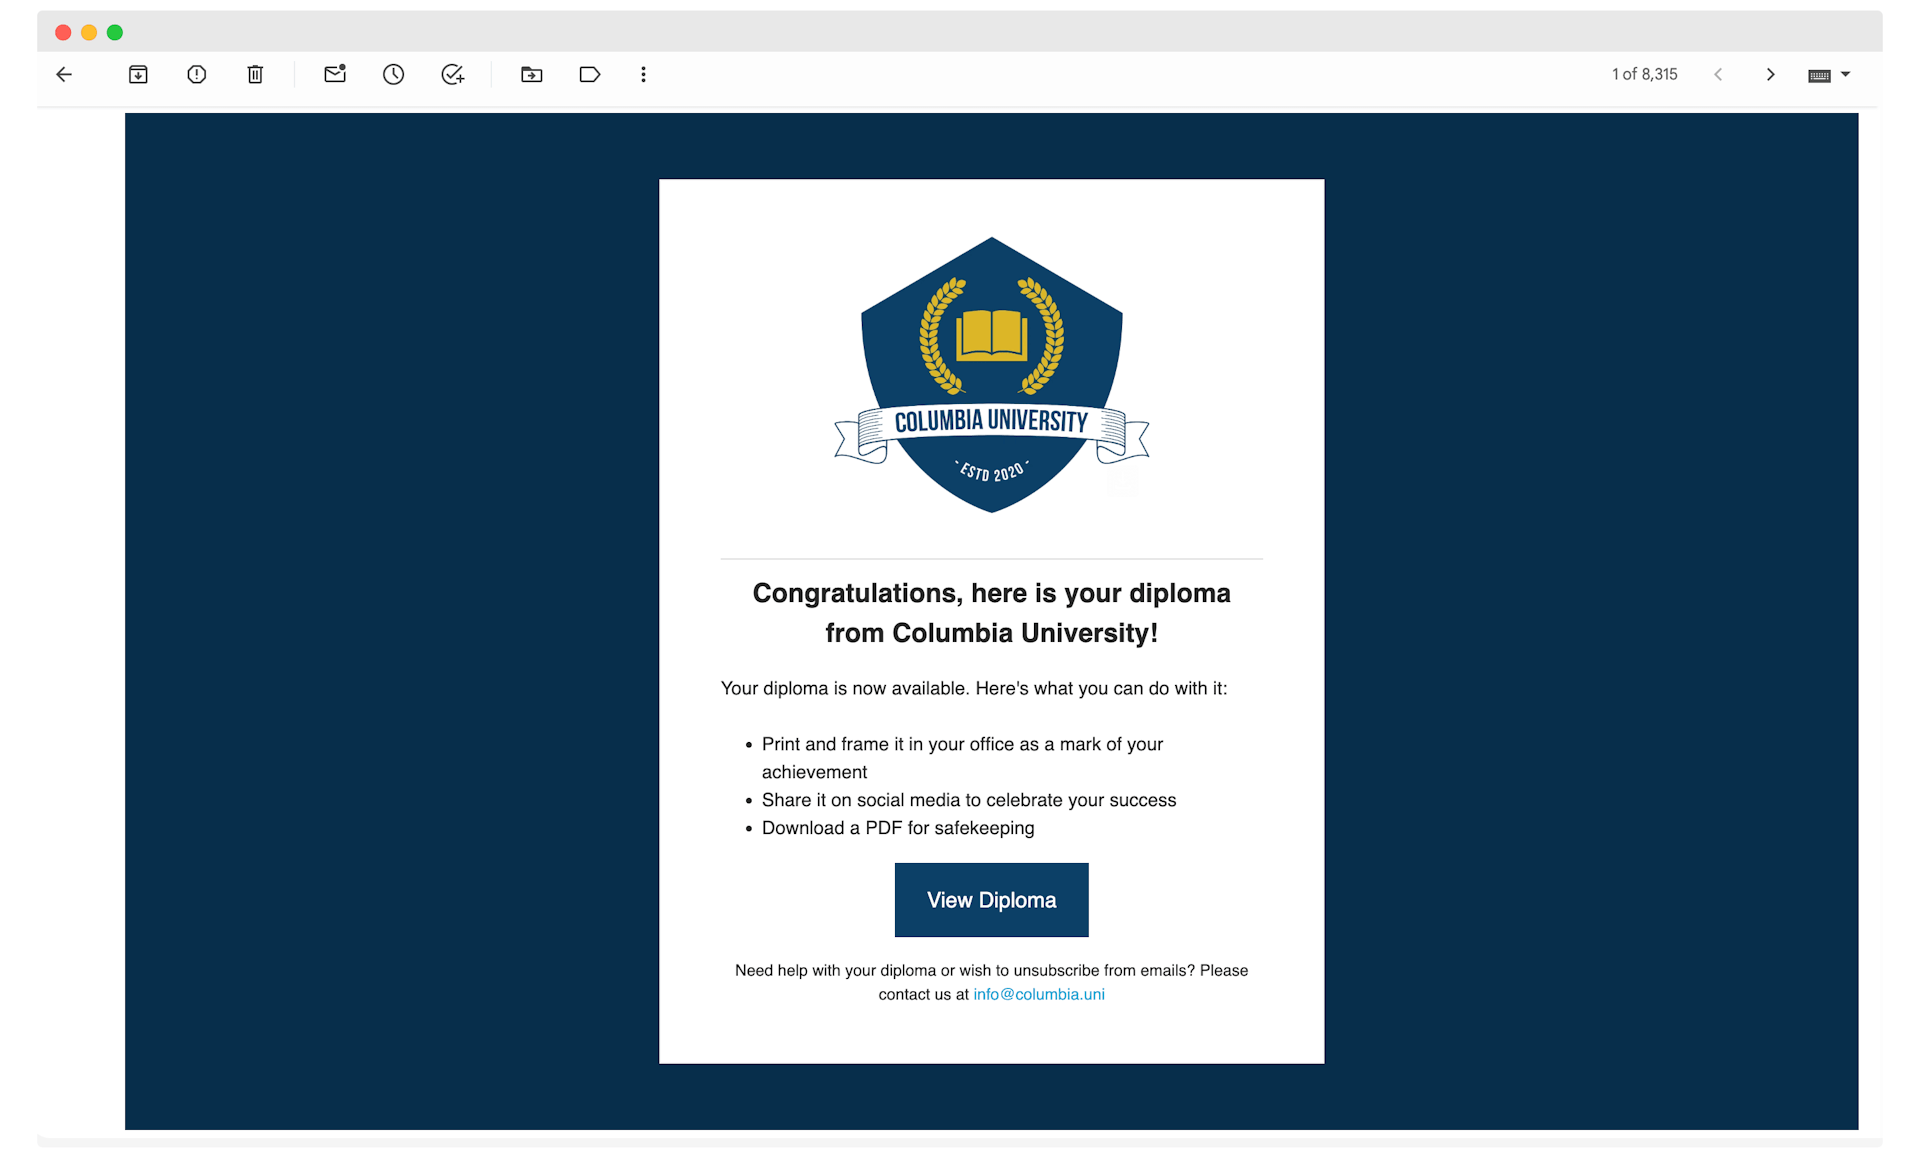
Subject line: Congratulations, [recipient.name]! Your Diploma is Now Ready
Body:
Hi, [recipient.name] 👋 Fantastic job on earning your diploma!
Your diploma is now available online. Here's what you can do with it:
Print and frame it in your office as a mark of your achievement
Share it on social media to celebrate your success
Download a PDF for safekeeping
CTA: View Diploma
Contact details: Need help with your diploma or wish to unsubscribe from emails? Please contact us at [email address].
💡 Tip: Take advantage of the re-send email feature. You can resend an email to the chosen recipient when there’s a typo or any other mistake.
What to write an email when sending certificates?
It’s not as easy as it may seem. That’s why we share some tips that may give your email a bit of flair.
Determine what action recipients should take after getting a certificate
When you send documents, like an email certificate, make it clear what action a recipient should take next. If you want them to verify the certificate, share it on social media, or save it for later use, your email should guide them through the process.
Bullet points are good for that, as they are simple to follow. In the case of Certifier, it’s super quick, and such a bullet point may look like this:
Click the LinkedIn share button.
Add some description to the post if you like.
Share. Voila! That’s it.
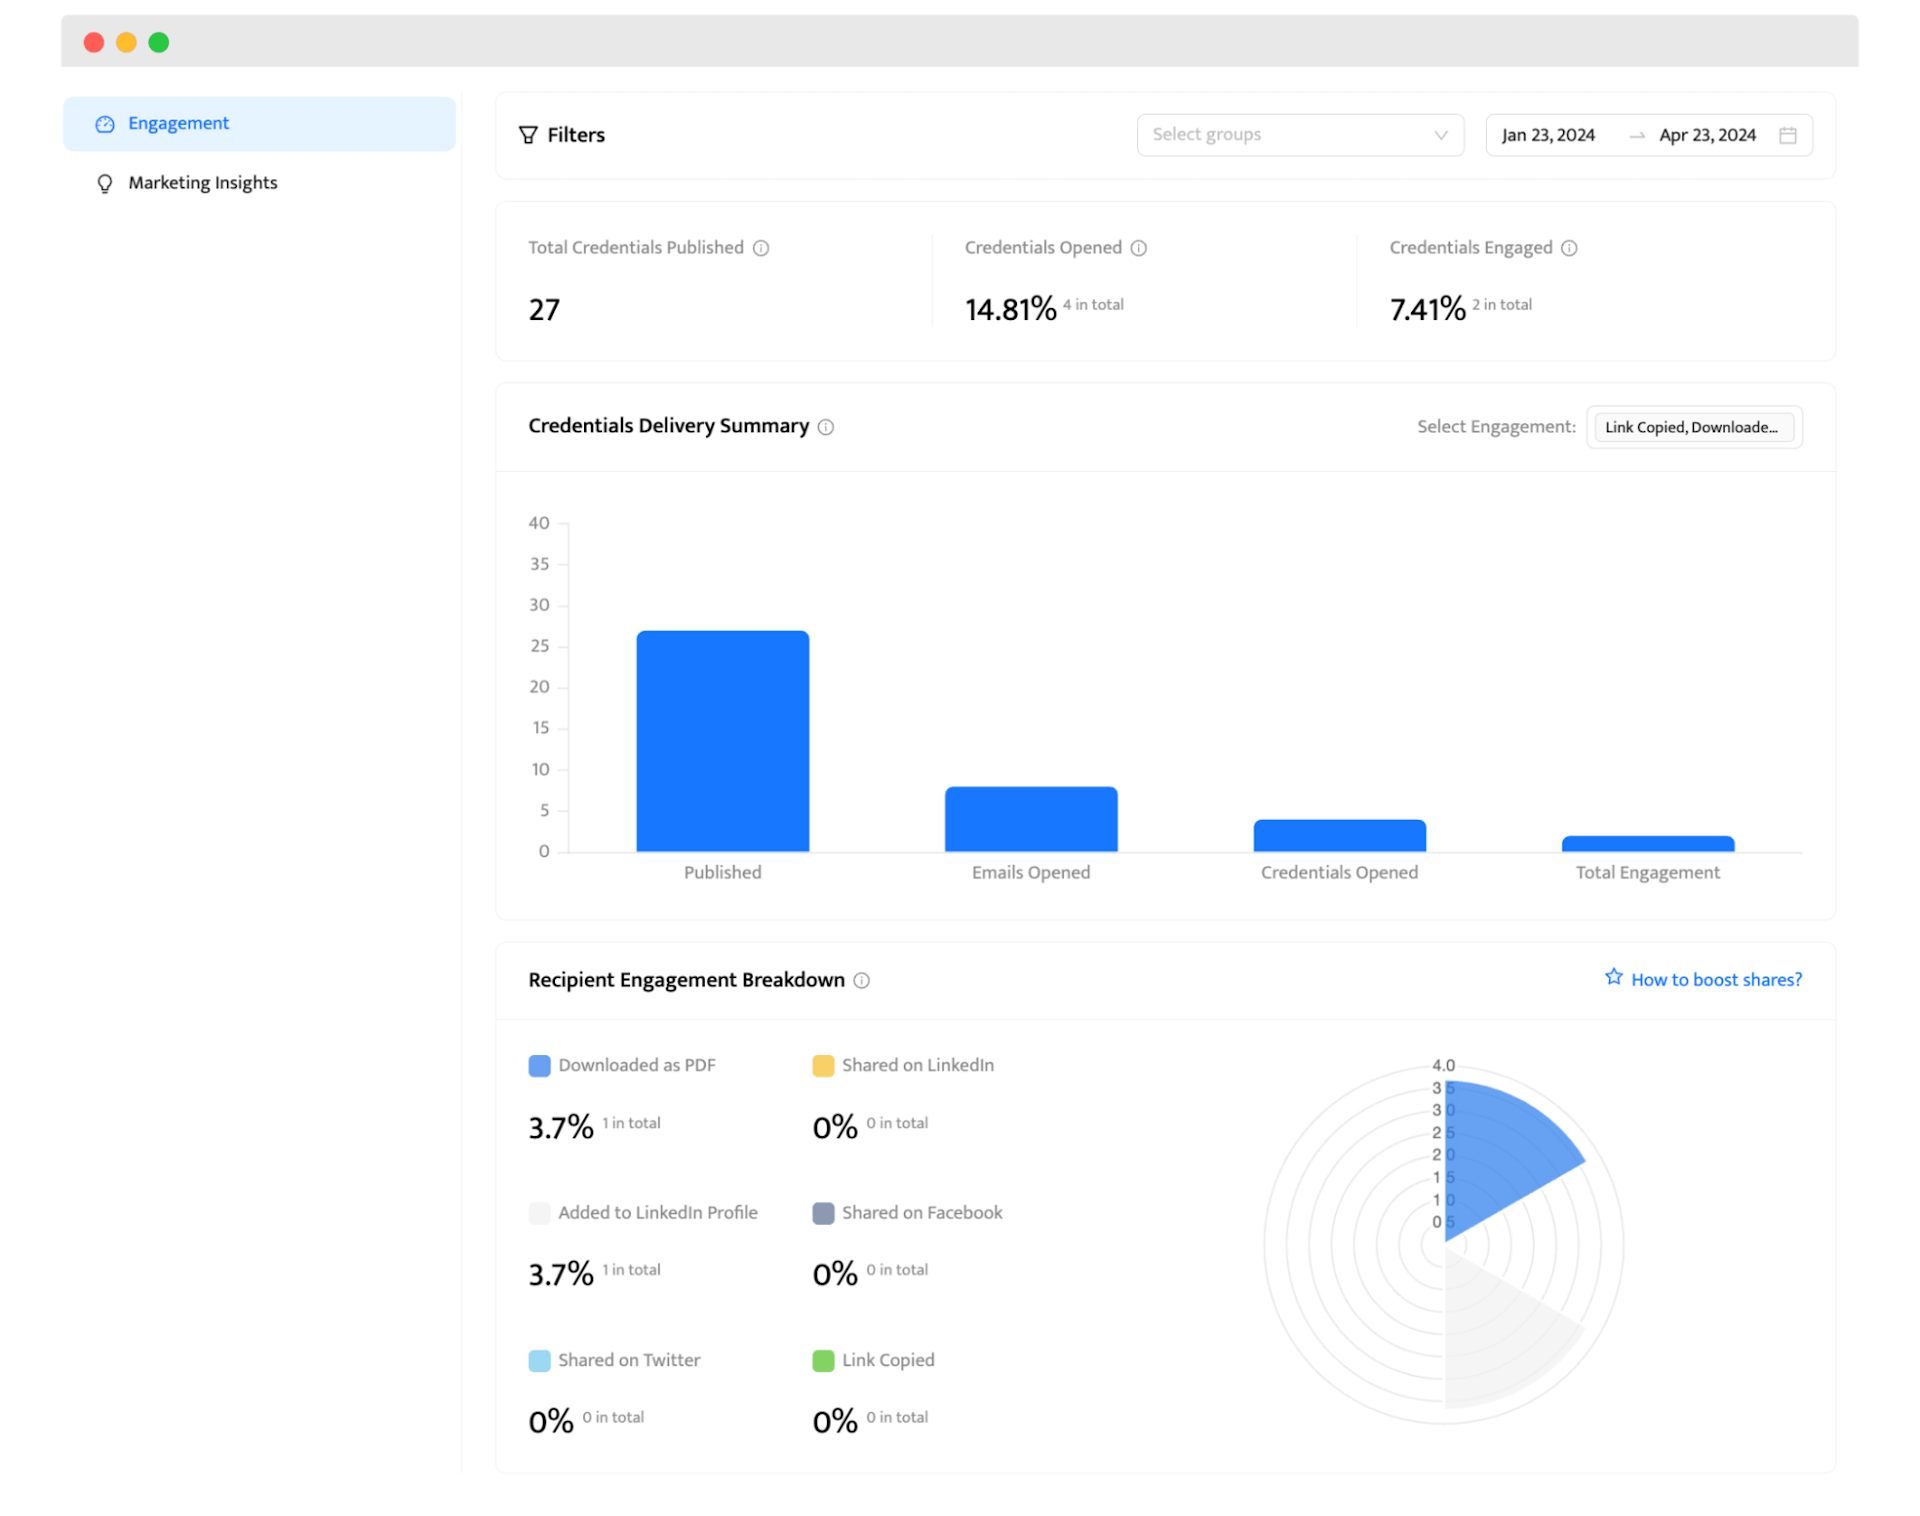
💡 Tip: With Certifier, you can track the emails’ performance, such as delivery rates, bounces, open rates, conversion rates, etc. You can re-draft the email's text and title, send it again with a new email, and track the results. Verify that the adjustments you made have worked.
Structure emails with four key parts: subject line, body, CTA, and attachment
A subject line is your first point of contact, so make it clear and engaging. It should immediately tell the recipient what to expect in the email, such as “Your Certification is Ready!”
In the body, state what the certificate is for and any necessary actions the recipient might need to take. This part should answer any immediate questions about the purpose of the email.
Now, it’s time for the CTA. It should stand out and instruct the recipient on what to do next, such as downloading the certificate or sharing their achievement on social media. Make it easy to find.
Last, but not least, the attachment. Make it in a common format like PDF, which is accessible and secure. Mention the attachment in both the body and the CTA so the recipient knows what to look for it.
Include clear instructions in the body to use the certificate (share, verify, download, print)
Be straight to the point. Explain briefly how to download the certificate, just a short "Click the attachment below to download your certificate" will do.
Encourage them to verify the authenticity of the certificate if your platform supports such a feature. You can go on with "Verify the certificate with the QR."
If they can share their achievement, tell them, "Share your certificate on social media to celebrate your accomplishment!"
Also, include instructions for printing, such as "For a physical copy, click the link and download your certificate." At Certifier, each recipient gets an individual link with their certificates.
How to format an email with an attached certificate?
We all probably at least once received an email that was just a block of text. It's not very encouraging to read on, right?
Here are certificate sending mail format tips. All to keeping your email fresh, crispy, and clear.
Use short paragraphs, and keep each paragraph focused on a single idea to avoid overwhelming the reader.
Press 'Enter' twice after each paragraph. You add some space and make the email easier to read.
Bold key details such as dates or actions to draw attention.
Use bullets to organize instructions or essential points about the certificate.
End with a simple closing that restates any call to action and includes your contact information.
Keep all text aligned to the left for a clean, professional look.
Send a sample email for sending certificate to yourself, so you can double-check if it looks OK.
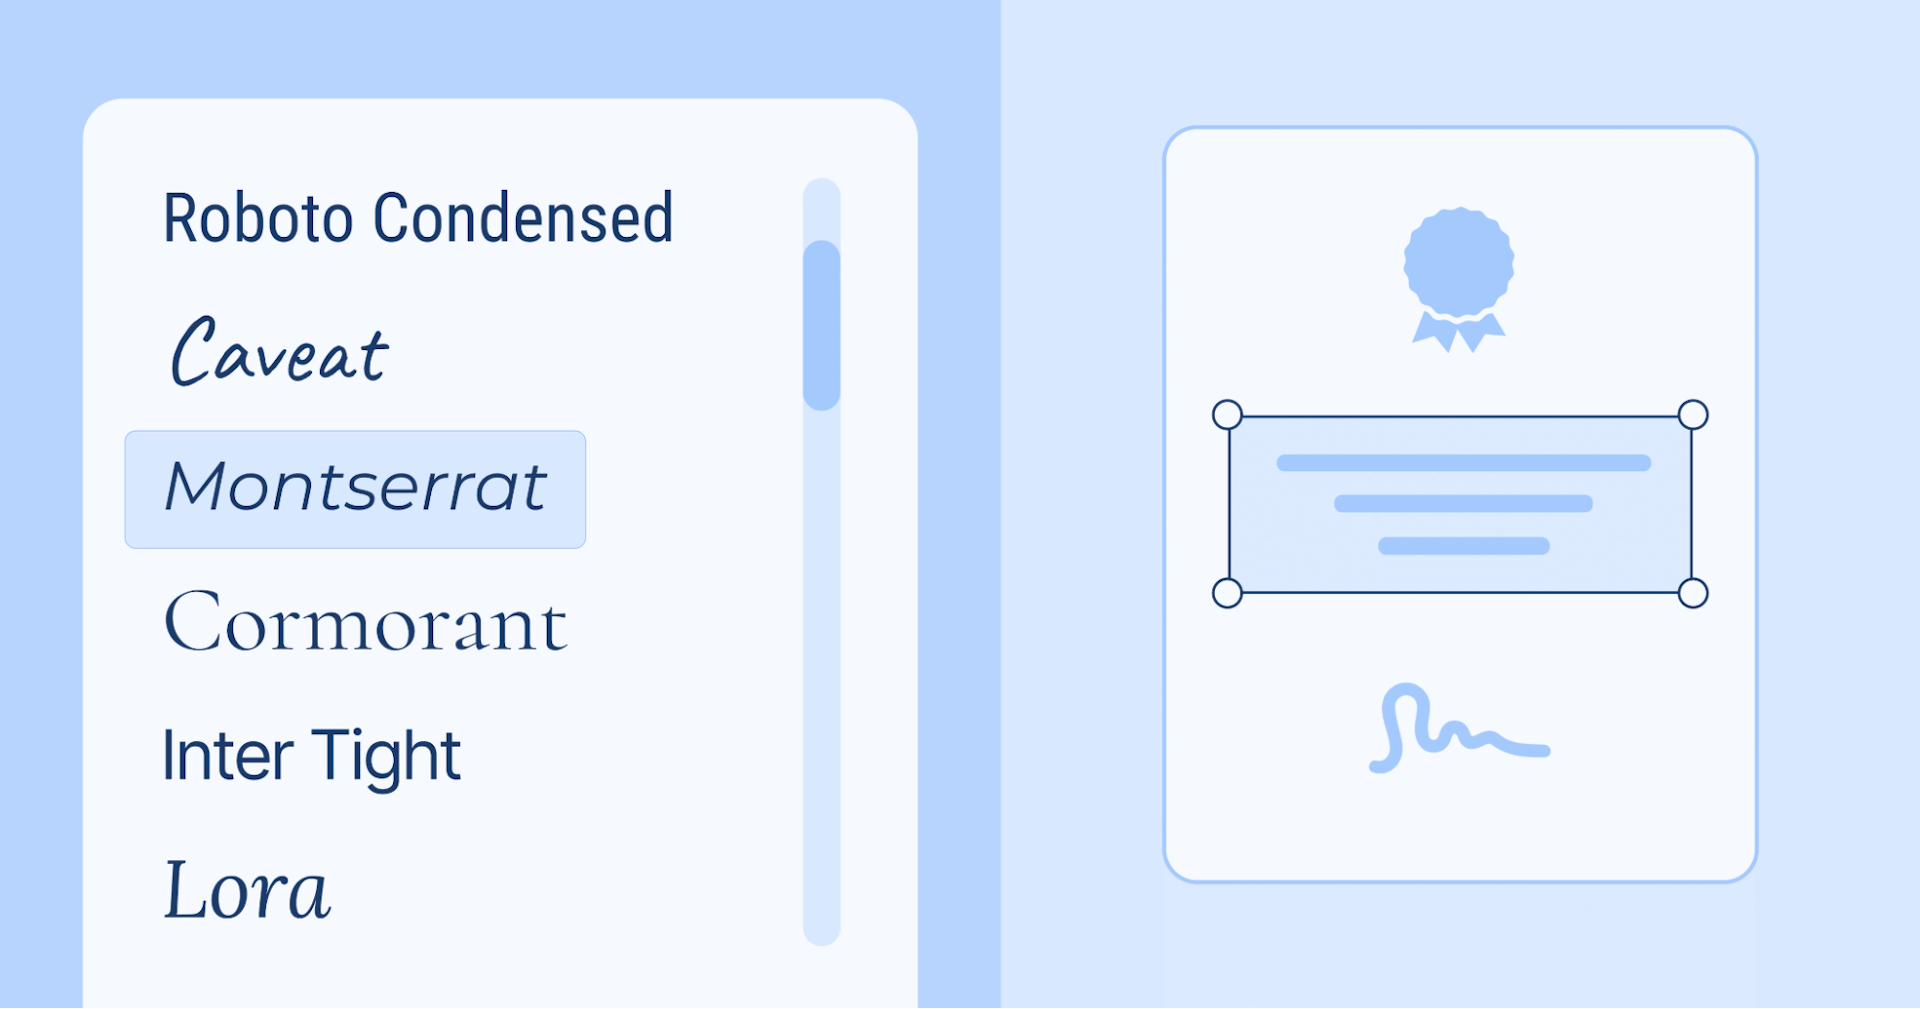
Use a standard font size and style. Stick to easy-to-read email and certificate fonts. At Certifier, there are many to choose from, all readable and clear.
Conclusion
So, how to write email for sending certificates? With a tool that doesn’t cause headaches, it’s intuitive and easy to use, and most importantly, it makes your work quick.
If it doesn’t like a tool you’re using right now, opt for Certifier. Using the same platform, you can create amazing certificates and send emails with the good news about completing the course. Sign up for Certifier today.
FAQ

Ola Kozielska
Content designer. At Certifier, Ola crafts user-friendly content that makes complex information easy to grasp.
Ola Kozielska
Content designer. At Certifier, Ola crafts user-friendly content that makes complex information easy to grasp.
Share this article